Quick Answer: Your Complete Philippines Travel Guide
The Philippines is a stunning archipelago of over 7,600 islands offering world-class beaches, crystal-clear waters, and warm Filipino hospitality. Best visited from December to April during dry season, this Southeast Asian paradise requires a visa for most travelers (though some can enter visa-free with qualifying visas). Expect to spend $30-120 per day depending on your travel style, with highlights including Palawan’s lagoons, Boracay’s white sand beaches, Siargao’s surf breaks, and Cebu’s historical sites. English is widely spoken, making navigation easy. Plan for island hopping via domestic flights or ferries, bring cash as ATMs are limited on smaller islands, and pack light for easier boat transfers between destinations.
I’ll be honest—the first time I started planning a trip to the Philippines, I felt a bit overwhelmed. Over 7,600 islands? Where do you even start? But here’s the thing I learned after spending weeks researching and talking to travelers who’d been there: the Philippines isn’t just another beach destination. It’s this incredible mix of turquoise lagoons, hidden waterfalls, friendly locals who genuinely want you to have a good time, and—perhaps most surprisingly—it won’t completely drain your bank account.
The Philippines has been climbing up travel bucket lists for good reason. Whether you’re into diving with whale sharks (ethically, of course), island hopping through limestone cliffs that look like they belong in a movie, or just lying on some of the softest white sand you’ve ever felt, this archipelago delivers. And unlike some popular Asian destinations, you can actually have conversations with almost everyone since English is widely spoken. Still wondering if the Philippines deserves a spot on your travel list? Here are 7 compelling reasons why you should visit the Philippines.
I’ve put together this guide to help you navigate the planning process—from figuring out when to visit and which islands deserve your time, to the practical stuff like visas, budgets, and what to pack. Think of this as advice from a friend who’s done the research so you don’t have to start from scratch.
Understanding the Philippines at a Glance
Let me paint you a picture first. The Philippines sits in Southeast Asia, spread across the western Pacific Ocean. It’s made up of three main island groups: Luzon in the north (where you’ll find Manila, the capital), Visayas in the center (home to Boracay, Cebu, and Bohol), and Mindanao in the south. Together, these regions form an archipelago of 7,641 islands—though only about 2,000 are inhabited and even fewer are on the typical tourist trail.
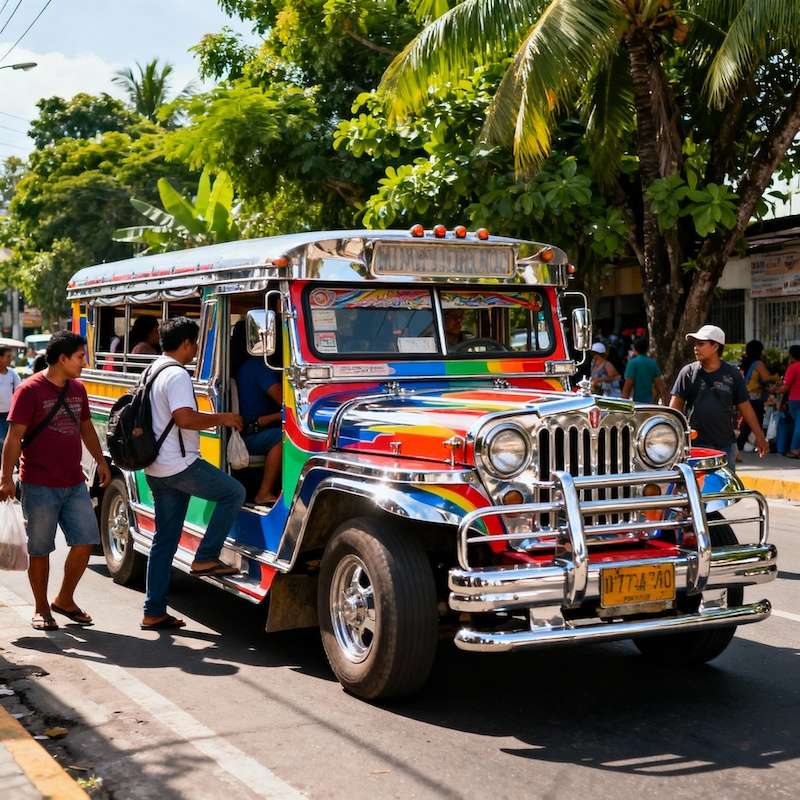
With a population of over 112 million people, it’s a vibrant, lively country with a fascinating blend of indigenous, Spanish, American, and Asian influences. You’ll see this mix everywhere—in the baroque churches, the jeepneys (those colorful converted military vehicles), the food that somehow balances sweet, sour, and savory all at once, and in the warmth of Filipino hospitality that’s genuinely hard to match anywhere else I’ve traveled.
The climate? Tropical. Which means it’s warm year-round, averaging around 26-28°C. But—and this is important—the Philippines also sits in the typhoon belt, so timing your visit matters. More on that in a moment.
When Should You Actually Visit the Philippines?
This is probably the most important decision you’ll make when planning your trip, and I think it deserves more than a quick “December to April” brush-off that most guides give you.
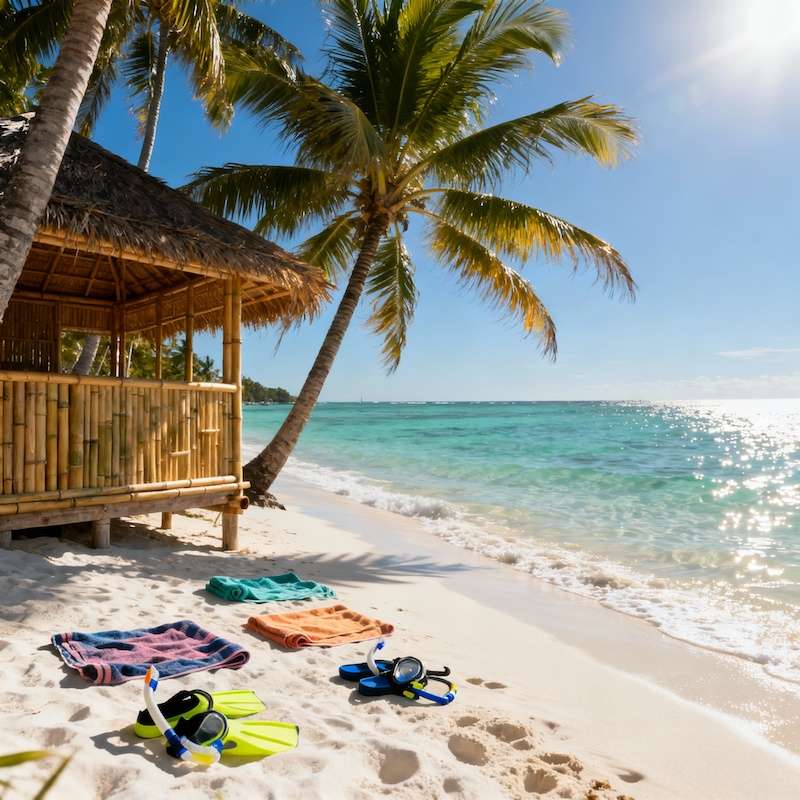
The dry season runs from roughly November through May, and within that window, you’ve got some nuances. December through February is peak season—the weather is genuinely perfect, with blue skies and calm seas, but you’ll be sharing those Instagram-worthy lagoons with quite a few other travelers. Prices spike, especially around Christmas and New Year, and you’ll want to book accommodations well in advance.
March and April are still dry but noticeably hotter. We’re talking 30°C+ and high humidity. If you can handle the heat (and trust me, it’s intense midday), you might find slightly fewer crowds and marginally better deals. May starts the transition into wet season—you’ll still get plenty of sunny days, but afternoon thunderstorms become more common, and prices start dropping significantly.
The wet season, June through October, gets a bad reputation, perhaps unfairly in some cases. Yes, it rains more. Yes, typhoons are a real risk, especially August through October. But I’ve talked to travelers who visited in June or early July and had wonderful experiences with occasional rain showers, rock-bottom prices, and virtually empty beaches. It’s a gamble, though—you might get unlucky with a week of storms.
My advice? If this is your first time and you want to play it safe, aim for January or February. If you’re on a tight budget and flexible with plans, consider late November or May. Just maybe avoid September and October unless you’re really, really comfortable with weather uncertainty.
Want a month-by-month breakdown with specific recommendations? I’ve written a detailed guide on the best time to visit the Philippines that goes into weather patterns, crowd levels, and pricing for every single month.
Visa Requirements: Do You Need One?
Here’s where it gets a bit complicated, so bear with me. Most travelers, including those from India, do need a visa to enter the Philippines. The standard tourist visa allows you to stay for 14 days initially, with the option to extend it to 21 days.
However—and this is where it gets interesting—if you’re an Indian passport holder with a valid visa from the US, UK, Canada, Australia, Japan, or a Schengen country, you can enter the Philippines visa-free for up to 14 days. Your passport needs to be valid for at least six months beyond your intended stay, and you’ll need proof of onward travel (a return ticket or ticket to another country).
If you do need to apply for a visa, the process involves submitting an application form, passport photos, bank statements or proof of financial capacity, confirmed flight tickets, and hotel reservations. You can apply at the Philippine Embassy or Consulate in your country. The whole process usually takes about a week, though I’d recommend applying at least two to three weeks before your trip to avoid any last-minute stress.
Getting There and Moving Between Islands
Most international travelers fly into Ninoy Aquino International Airport (NAIA) in Manila. It’s not the world’s most modern airport—in fact, it can feel a bit chaotic if you’re not prepared—but it’s your main gateway. Cebu and Clark also have international airports with connections to various Asian cities, which can sometimes be convenient if you’re starting your trip in the Visayas region.
Once you’re in the country, getting between islands is something you’ll need to think about carefully. The Philippines is big, and those turquoise waters between islands aren’t something you can just drive across.
Domestic flights are your best bet for covering long distances quickly. Airlines like Cebu Pacific, AirAsia, and Philippine Airlines operate frequent routes between major destinations. Here’s a money-saving tip I wish I’d known earlier: book domestic flights as far in advance as possible. Prices can be as low as $10-15 one way if you book months ahead, but jump to $100+ if you wait until the last minute. Also, flights sell out during peak season, so early booking gives you flexibility.
Ferries connect many islands and can be a more scenic (and cheaper) option for shorter routes. The quality varies—some are modern and comfortable with air-conditioning and reclining seats, while others are more basic. Popular ferry companies include 2GO Travel and OceanJet. Just know that sea conditions can get rough, and schedules sometimes change due to weather, so build in buffer time.
Local transportation is where the Philippines really shows its character. Jeepneys—those wildly decorated, extended jeeps—are the most iconic form of public transport and dirt cheap (usually 8-15 pesos per ride). Tricycles (motorcycles with sidecars) are everywhere and perfect for short hops. For convenience, especially in cities, the Grab app works like Uber and takes the guesswork out of negotiating fares.
One thing I can’t stress enough: leave plenty of time for travel days between islands. What looks like a short distance on a map might involve a tricycle to the port, a ferry, another tricycle, then maybe a van or another flight. I’ve heard too many stories of travelers missing connections because they underestimated travel time. When in doubt, dedicate an entire day to moving between major islands.
Budget Breakdown: How Much Does the Philippines Actually Cost?
This is such a personal question because travel styles vary so much, but I’ll try to give you realistic numbers based on what I’ve researched and heard from travelers.
Accommodation
Budget travelers can find dorm beds in hostels for $5-15 per night, especially on popular islands like El Nido, Siargao, and Boracay. Private rooms in budget guesthouses run $20-35. Mid-range travelers looking at hotels with air-conditioning, hot water, and maybe a pool should budget $40-80 per night. Luxury resorts, particularly in Palawan or on private islands, start around $100 and can easily climb to $300+ per night.
Food
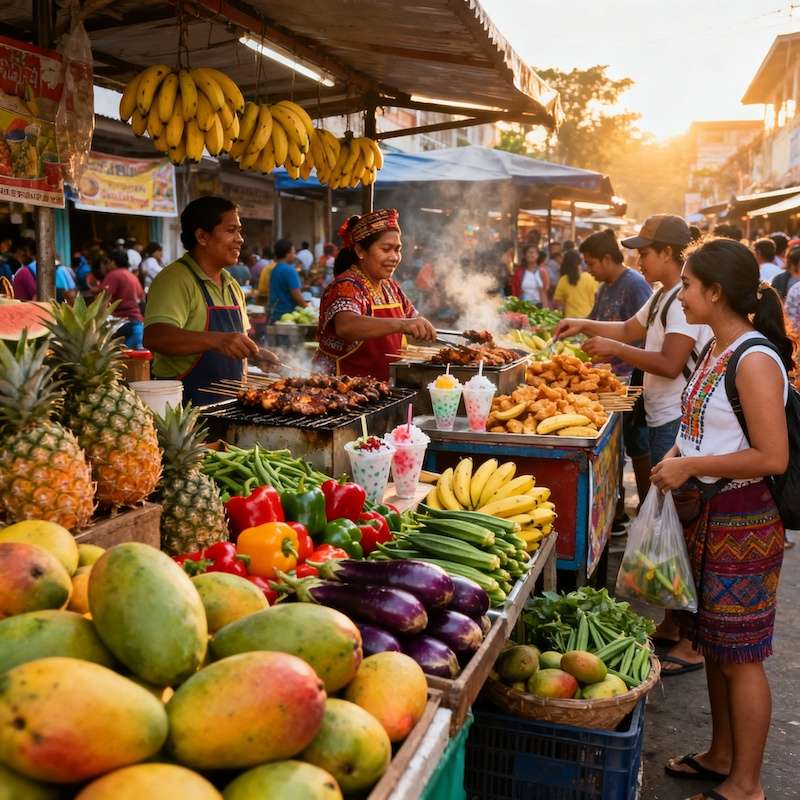
Filipino food is wonderfully affordable. Street food and local eateries (called “carinderias”) serve filling meals for $2-5. Think rice with adobo (that delicious vinegar-soy chicken or pork dish), pancit (noodles), or fresh grilled fish. Mid-range restaurants, especially in tourist areas, charge $8-15 per meal. Western food and upscale dining can run $20-40 per person. Fresh tropical fruit—mangoes, pineapples, coconuts—is ridiculously cheap and everywhere.
Activities
Island hopping tours typically cost $25-40 per person and usually include lunch and snorkeling equipment. Multi-day sailing tours (like the overnight trips in Coron) run $300-400 for three days/two nights, including all meals and accommodation on the boat. Diving is reasonably priced—expect $40-60 for a single dive, $100-150 for packages. Entrance fees to national parks and beaches range from $1-10.
Overall Daily Budget
A budget backpacker can get by on $30-50 per day if they’re staying in hostels, eating local food, and sticking to free or cheap activities. Mid-range travelers should budget $80-120 per day for nicer accommodation, mix of restaurant meals, and regular tours. Luxury travelers or those doing lots of diving and splurging on resorts should think $200+ per day.
Perhaps the best news? The Philippines offers incredible value compared to many beach destinations. You’re getting world-class scenery without the price tag of places like the Maldives or French Polynesia.
Top Destinations You’ll Want to Consider
Okay, this is where it gets fun. With over 7,600 islands, you could spend years exploring the Philippines and still not see everything. But let me walk you through the highlights that consistently show up on travelers’ “absolutely worth it” lists.
Palawan: The Crown Jewel
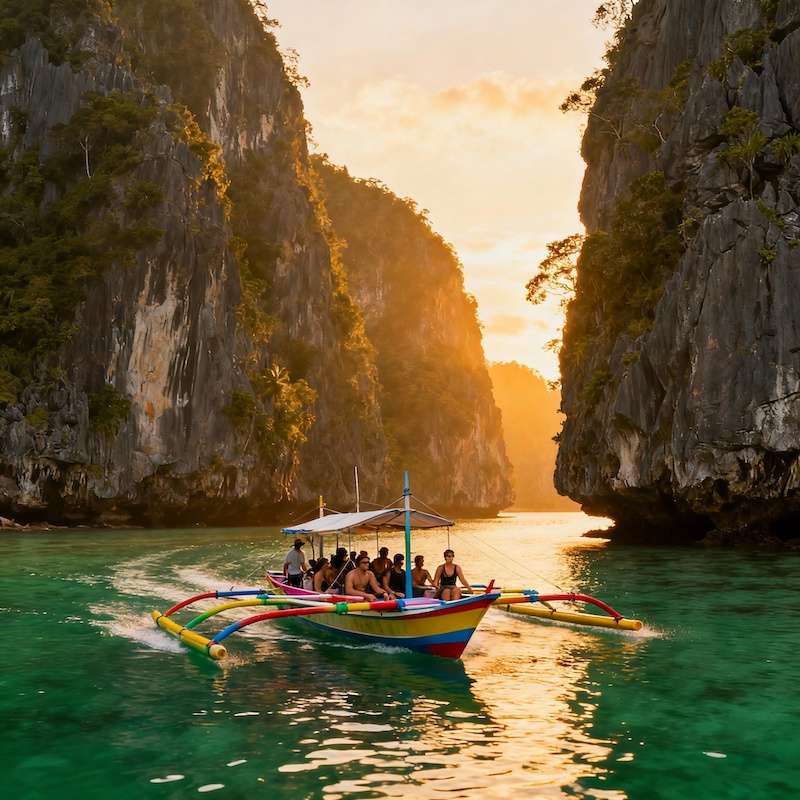
Palawan frequently tops lists of the world’s best islands, and after seeing photos of its limestone cliffs rising from emerald waters, you’ll understand why. The two main destinations here are El Nido and Coron, and honestly, they’re so different that visiting both makes sense if you have the time.
El Nido is all about dramatic scenery—picture towering karst cliffs, hidden lagoons you can kayak into, and secret beaches accessible only by boat. The island hopping tours here (labeled Tour A, B, C, and D) take you to different combinations of islands and are pretty much mandatory. Big Lagoon and Small Lagoon are the postcard shots you’ve probably seen online. The town itself has grown quite touristy, I won’t lie, but the natural beauty is undeniable.
Coron feels slightly less developed than El Nido, which some travelers prefer. It’s famous for incredibly clear lakes (Kayangan Lake is often called the cleanest lake in the Philippines), excellent diving—especially if you’re into WWII shipwrecks—and island hopping that’s just as spectacular as El Nido but maybe with a bit less company. The hot springs here are perfect after a long day of exploring.
Puerto Princesa, the capital of Palawan, is worth a stop mainly for the Underground River, a UNESCO World Heritage site that’s… well, exactly what it sounds like. It’s impressive, though some find it overrated given the logistics involved in visiting.
I’ve put together comprehensive guides on both Palawan, El Nido, and Coron if you want to dive deeper into what to do, where to stay, and how to plan your time there.
Boracay: The Beach Party Island
Boracay is a bit polarizing among travelers. Some love it, some find it too commercialized. Here’s my take: if you want pristine white sand (and I mean truly powdery, talcum-soft sand), warm shallow water perfect for swimming, and a full range of water sports from paddleboarding to kitesurfing, Boracay delivers. White Beach is divided into three stations—Station 1 is the upscale end with luxury resorts, Station 2 is the party central with restaurants and bars, and Station 3 is more budget-friendly and quieter.
The island underwent a major rehabilitation closure in 2018, and it reopened with stricter environmental regulations. It’s cleaner now, though still definitely touristy. The sunset views and the nightlife are excellent if that’s your scene. If you prefer totally undiscovered, deserted beaches, you might want to skip Boracay.
Check out my Boracay travel tips guide for specific advice on which beach station to choose and activities beyond the beach.
Siargao: Surf, Chill, Repeat
Siargao has exploded in popularity over the past few years, evolving from a sleepy surf town into a full-blown destination for digital nomads and travelers seeking that perfect blend of waves, jungle vibes, and laid-back island life. Cloud 9 is the famous surf break—even if you don’t surf, watching the pros is mesmerizing.
But Siargao is more than just surfing. The island hopping here takes you to sandbars and tiny islands (Naked Island literally has no vegetation, just sand), mangrove forests, and gorgeous lagoons like Sugba Lagoon. Magpupungko Rock Pools are these natural tide pools that are absolutely magical during low tide.
The vibe in General Luna, the main town, is relaxed and welcoming, with excellent cafes (seriously good coffee), health food restaurants, and beach bars. If you’re thinking of working remotely or just want a place to slow down for a week or two, Siargao is perfect.
My complete Siargao guide covers where to stay, surf lessons, and the best island hopping tours.
Cebu: History Meets Adventure
Cebu is often overlooked because people rush through to get to other islands, but it deserves more attention. Cebu City has significant historical sites—Magellan’s Cross and the Basilica Minore del Santo Niño offer glimpses into the Philippines’ Spanish colonial past and the arrival of Christianity.
But the real draws around Cebu are the natural adventures. Kawasan Falls canyoneering is one of the most thrilling day trips—you’re literally jumping off waterfalls, swimming through canyons, and rappelling down cliff faces. Oslob is famous (or infamous, depending on who you ask) for whale shark encounters, though I’d encourage you to research the ethical concerns before deciding whether to visit. Moalboal offers incredible snorkeling with sardine runs and sea turtles, while Malapascua Island is the place to dive with thresher sharks.
I’ve detailed all these adventures and more in my Cebu tourist spots guide.
Bohol: Chocolate Hills and Tiny Primates
Bohol is wonderfully diverse. The Chocolate Hills—over 1,200 cone-shaped hills that turn brown in the dry season—are the main draw, and they’re genuinely bizarre and beautiful. The Philippine Tarsier Sanctuary lets you see these tiny primates (they fit in your palm) in a protected environment where they’re respected rather than stressed by tourists.
Panglao Island, connected to Bohol by bridges, has lovely beaches, particularly Alona Beach, which is the main tourist hub. The Loboc River Cruise is touristy but pleasant, especially if you enjoy the live music and buffet lunch on the boat.
Exploring More Islands
These are just the highlights, of course. Each island group has its own personality, and part of the fun is discovering which one resonates with you. For a more detailed exploration of individual islands and what makes each one special, this comprehensive guide to the best Philippine islands provides additional insights and lesser-known destinations worth considering.
Adventures and Activities Beyond the Beach
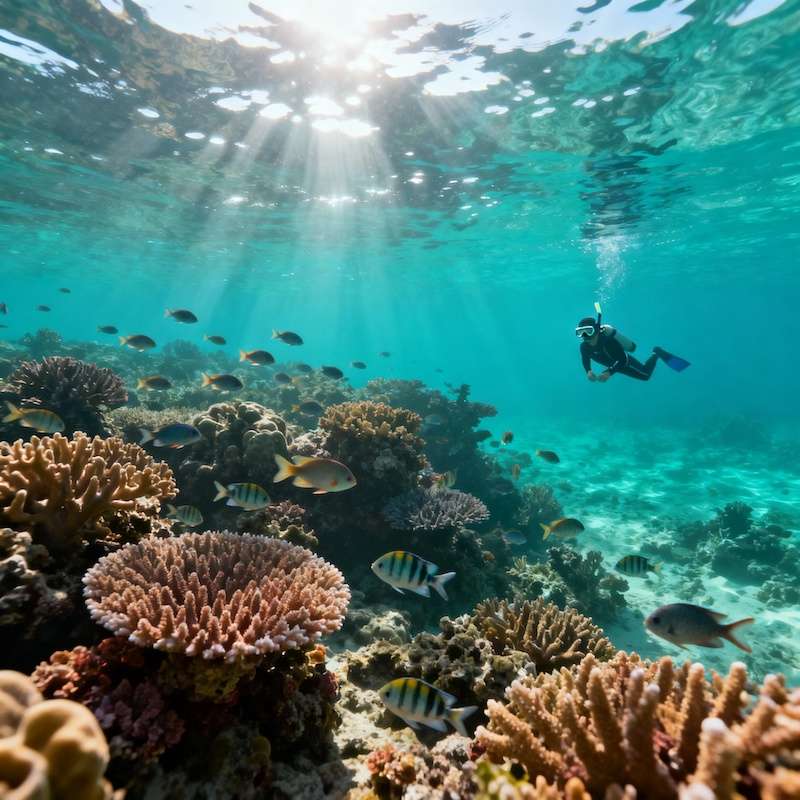
While island hopping and beach lounging are essential Philippines experiences, there’s so much more to discover. Canyoneering through waterfalls, diving with whale sharks and thresher sharks, hiking active volcanoes, exploring underground rivers, experiencing local festivals—the range of activities is honestly impressive for a country known mainly for its beaches.
Each region offers something different. Palawan is all about lagoons and pristine nature. Cebu and Bohol balance adventure with culture. Siargao brings surf culture and island vibes. And there are countless experiences in between that don’t make it onto standard tourist itineraries.
For a comprehensive overview of experiences across the entire archipelago, check out this guide to the best things to do in the Philippines, which covers activities for all types of travelers—adventure seekers, culture enthusiasts, foodies, and relaxation seekers alike.
Chasing Waterfalls
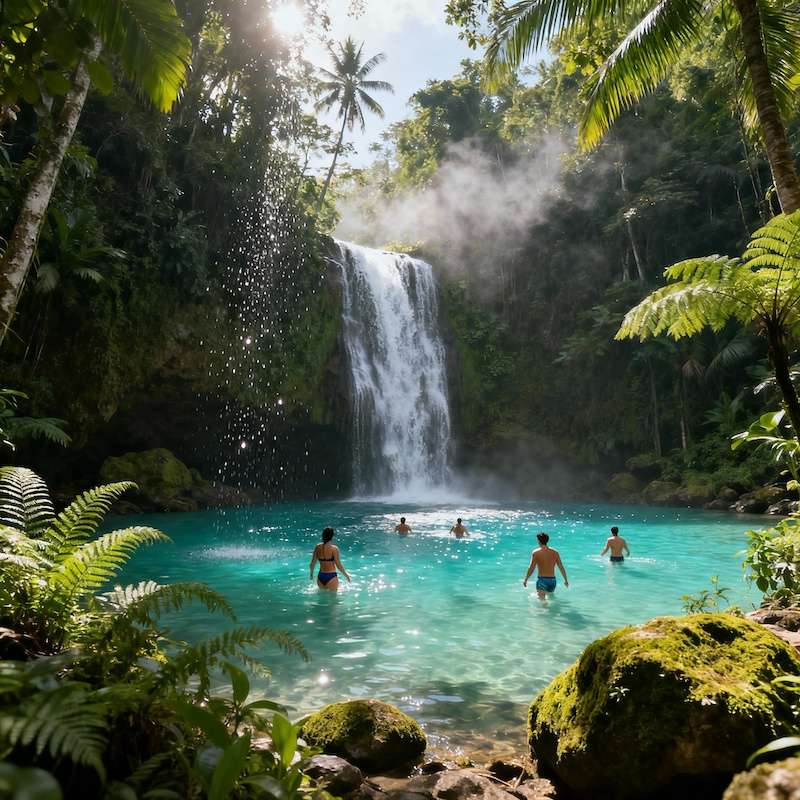
Beyond the beaches, the Philippines hides some truly spectacular waterfalls tucked away in lush forests and mountains. While Kawasan Falls in Cebu is the most famous (and for good reason—that canyoneering experience is unforgettable), there are countless others that see far fewer visitors. I’m talking about places where you might have an entire waterfall pool to yourself, surrounded by jungle, with only the sound of cascading water breaking the silence.
If chasing waterfalls sounds like your kind of adventure, I’ve put together a guide to 5 hidden waterfalls in the Philippines that includes locations near Manila (perfect for day trips) and ones in Cebu and Rizal that offer swimming, cliff jumping, and even camping opportunities.
Sample Itineraries to Get You Started
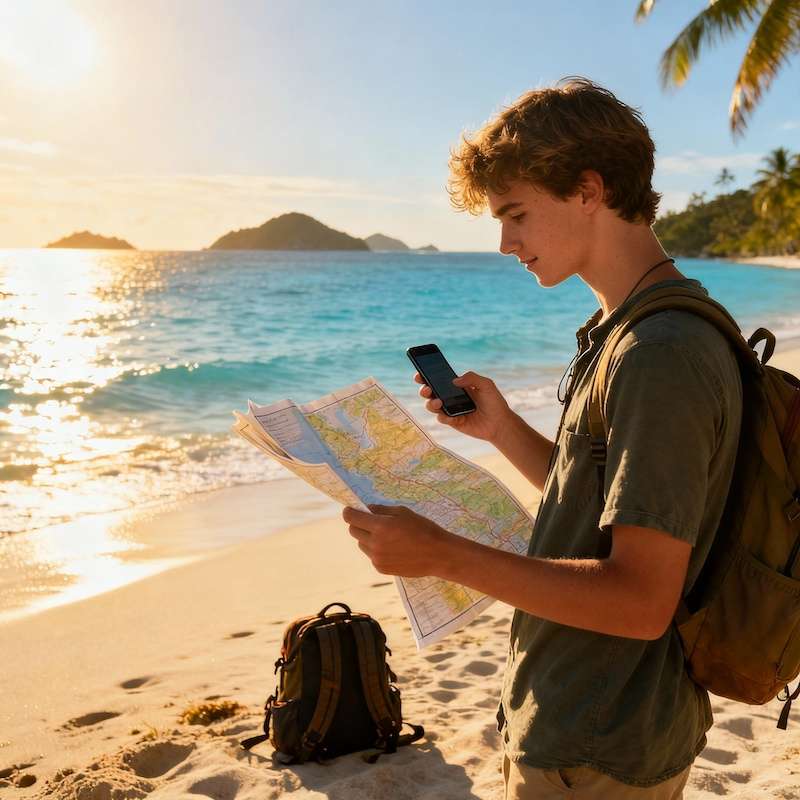
I know staring at a map of 7,600 islands can be paralyzing. So here are some realistic itineraries based on common trip lengths.
One Week: Manila + Palawan
Days 1-2: Arrive in Manila, recover from jet lag, explore Intramuros (the old walled city) and maybe catch the sunset at Manila Bay. Don’t expect Manila to blow you away—it’s crowded and chaotic—but Intramuros has charm.
Days 3-6: Fly to El Nido. Spend three full days doing island hopping tours (A and C are usually recommended as the best), relaxing on Nacpan Beach, and maybe a sunset kayak. You could also substitute Coron here if you’re more into diving.
Day 7: Fly back to Manila for your departure.
This itinerary is doable but definitely on the quick side. You won’t feel like you’ve seen all of the Philippines, but you’ll get a solid taste of its best scenery.
Ten Days: Manila + Palawan + Boracay
Days 1-2: Manila exploration.
Days 3-5: El Nido, condensed version with the top two island tours and beach time.
Days 6-9: Boracay. Fly to Caticlan, then take the short boat transfer. Spend your days trying water sports, island hopping to nearby spots, watching sunsets, and maybe experiencing the nightlife.
Day 10: Return to Manila and fly home.
This gives you nice variety—dramatic Palawan scenery plus the white sand beach experience of Boracay.
Two Weeks: The Grand Tour
Days 1-2: Manila, possibly with a day trip to Tagaytay to see Taal Volcano.
Days 3-5: Palawan (El Nido or split between El Nido and Coron).
Days 6-8: Cebu and Bohol. Fly to Cebu, explore the city for a day, ferry to Bohol for Chocolate Hills and tarsier sanctuary, then enjoy the beaches at Panglao.
Days 9-12: Siargao. Fly to the island, settle into the chill vibe, take surf lessons, do island hopping, and just relax.
Days 13-14: Return to Manila with buffer time for any delays, departure.
Two weeks lets you see multiple regions—Palawan’s stunning seascapes, Cebu and Bohol’s mix of history and nature, and Siargao’s surf culture. You’re still skimming the surface of what the Philippines offers, but you’ll leave with a well-rounded experience.
For much more detailed day-by-day planning, check out my Philippines travel itinerary guide with 7, 10, and 14-day plans.
What to Actually Pack for the Philippines
Packing for a tropical archipelago where you’ll be hopping boats and moving frequently requires some thought. The key principle: pack light. You’ll thank yourself every time you’re climbing on and off boats, tricycles, and vans with your luggage.
Essential clothing: Lightweight, quick-drying clothes are your friend. Think 3-4 t-shirts or tank tops, a couple of pairs of shorts, one or two sundresses or casual outfits for evenings. Definitely bring at least two swimsuits so one can dry while you wear the other. A light long-sleeve shirt is useful for sun protection and to cover up in religious sites. And here’s something I didn’t see coming: bring a light jacket or hoodie. Filipinos love air-conditioning, and buses, ferries, and especially Manila airport can be absolutely frigid.
Footwear: Flip-flops or sandals are your main shoes. But—and this is important—bring water shoes. Many beautiful beaches have sea urchins lurking in shallow water, and stepping on one will ruin your trip. Water shoes also help on rocky beaches and during island hopping when you’re getting on and off boats in shallow water.
Sun protection: Reef-safe sunscreen is crucial. The Philippines is protective of its coral reefs (as it should be), and some areas prohibit non-reef-safe products. Bring a wide-brimmed hat and quality sunglasses with UV protection. The sun is intense, especially between 11 am and 3 pm.
For the water: A waterproof dry bag is maybe the single best investment for island hopping. Regular backpacks will get soaked on boats, but a dry bag keeps your phone, money, and camera safe. I’d also bring a reusable water bottle—preferably one with a filter, since tap water isn’t safe to drink.
Health items: Bring any prescription medications you need, plus a basic first aid kit. Insect repellent with DEET is essential—dengue fever is present in the Philippines, and mosquitoes are most active at dawn and dusk. Hand sanitizer is useful, especially before eating street food. Anti-diarrheal medication and electrolyte sachets are good to have just in case.
Electronics: Don’t forget a universal power adapter (the Philippines uses Type A and C plugs), and a power bank is basically essential. You’ll be out all day on island tours with no charging opportunities. Your phone will die trying to take all those photos if you don’t have backup power.
What to leave at home: Don’t bring excessive clothing—laundry services are cheap and available everywhere. Leave valuable jewelry at home. Heavy books can be replaced with an e-reader. And you don’t need a hair dryer—most mid-range and up accommodations provide them, and in the humidity, your hair dries in minutes anyway.
I created a comprehensive Philippines packing checklist that you can download to make sure you don’t forget anything important.
Health, Safety, and Practical Considerations
Let’s talk about the less glamorous but important stuff.
Health Precautions
The tap water in the Philippines is not safe to drink. Period. Brush your teeth with bottled water, especially in places like El Nido where water quality is particularly questionable. Most hotels provide complimentary bottled water daily, and it’s cheap to buy—around 20-40 pesos per bottle.
Mosquito-borne diseases like dengue fever are present, especially during the wet season (June to October). There’s no vaccine for dengue, so prevention is everything: use insect repellent with at least 30% DEET, wear long sleeves and pants during dawn and dusk when mosquitoes are most active, and sleep under a mosquito net if your accommodation provides one (not all do, especially budget places).
Consider vaccinations for your trip. Your doctor might recommend vaccines for Hepatitis A and B, typhoid, rabies (if you’ll be around animals), and making sure your routine vaccinations (measles, polio) are up to date. This isn’t meant to scare you—just be prepared.
Travel insurance is really, really worth it for the Philippines. Medical emergencies can be expensive, and medical facilities vary significantly in quality between cities and remote islands. Plus, given the possibility of typhoons and weather-related travel disruptions, having coverage for trip cancellations or delays provides peace of mind. I’ve heard too many stories of travelers ending up with massive hospital bills to skip this.
Safety Tips
The Philippines is generally safe for tourists, and violent crime against foreigners is rare. Filipinos are genuinely friendly and helpful people. That said, use common sense. Don’t flash expensive jewelry or electronics unnecessarily. Keep your belongings close in crowded areas like markets and on public transport. Use hotel safes for passports and extra cash.
Be aware that certain areas, particularly in western and southern Mindanao, have security concerns and are under travel advisories from many governments due to terrorism and kidnapping risks. Most tourists stick to Luzon, Visayas, and the safe parts of northern Mindanao (like Siargao) and never have issues. Just check current travel advisories before you go.
When it comes to transportation, tricycle and jeepney drivers will sometimes try to overcharge tourists. It’s not malicious, just business. Know the approximate fair rate (ask your hotel), negotiate before you get in, and stay polite but firm. The Grab app eliminates this issue in cities where it’s available.
Money Matters
The currency is the Philippine Peso (PHP). As of late 2025, exchange rates hover around 55-60 pesos to 1 USD, though this fluctuates.
Here’s something crucial: ATMs are not everywhere, especially on smaller islands. El Nido had only one ATM last time I checked, and it frequently ran out of cash. Coron has a few more but still limited. Always research whether your destination has functioning ATMs and stock up on cash before heading to remote areas.
Not all ATMs accept international cards, and withdrawal fees can be hefty (150-250 pesos per transaction plus your bank’s fee). Credit cards are accepted at mid-range and upscale hotels and restaurants, but budget guesthouses, local eateries, and tour operators usually want cash.
Pro tip: Bring some US dollars as backup. They’re widely accepted for currency exchange and can be useful if ATMs aren’t working.
Filipino Culture, Language, and Food
Language
One of the easiest things about traveling in the Philippines? Almost everyone speaks English. It’s one of the country’s official languages alongside Filipino (based on Tagalog), and it’s used in education, business, and tourism. You’ll have no problem communicating, even in smaller towns and rural areas. Signs, menus, and information are usually in English.
That said, learning a few Filipino phrases will earn you smiles and appreciation:
- Kumusta – Hello/How are you?
- Salamat – Thank you
- Magandang umaga – Good morning
- Magkano? – How much?
- Oo/Hindi – Yes/No
Cultural Etiquette
Filipinos are warm, hospitable people who value politeness and respect, especially toward elders. A few cultural notes: dress modestly when visiting churches and religious sites (covered shoulders and knees). Remove your shoes when entering someone’s home. Pointing with your finger is considered rude—use your lips or chin to gesture direction instead (it takes practice!). And the “Mano” gesture—taking an elder’s hand and bringing it to your forehead—is a traditional sign of respect, though foreigners aren’t expected to know this.
Filipinos are generally indirect and avoid confrontation. If something is wrong, they might not tell you directly. Don’t take it personally; it’s about maintaining harmony and being polite.
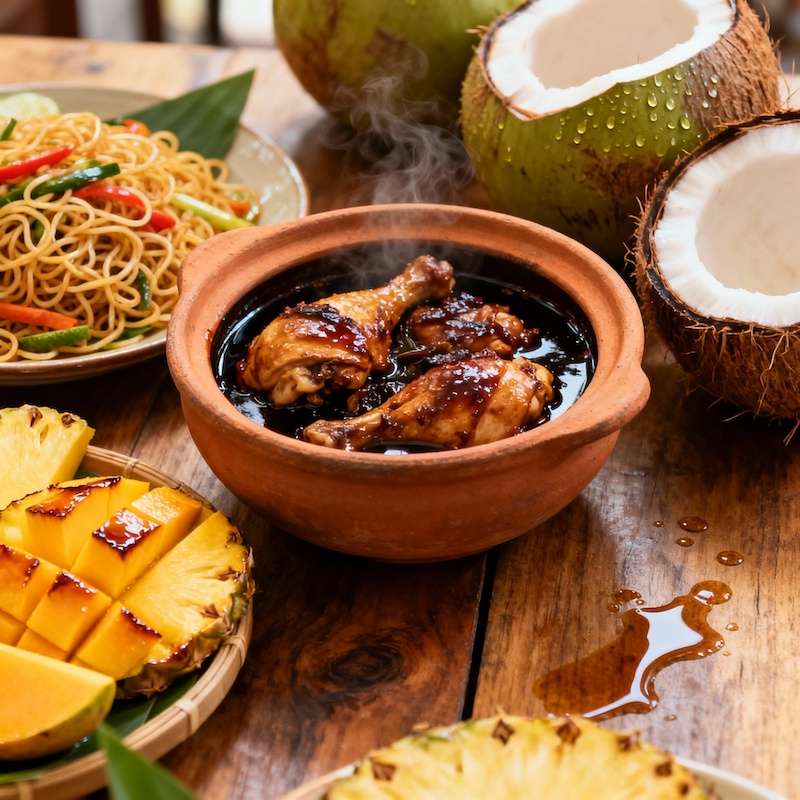
Food: An Adventure Itself
Filipino cuisine is an underrated highlight of visiting the Philippines. It’s a fascinating fusion reflecting the country’s history—Malay indigenous flavors mixed with Spanish, Chinese, and American influences. The result is often sweet, sour, and savory all in one dish.
Adobo is probably the most famous dish—chicken or pork marinated and braised in vinegar, soy sauce, garlic, and spices. Every family has their own recipe, and it’s comfort food at its finest. Sinigang is a sour soup, usually with pork or shrimp, flavored with tamarind and vegetables—perfect for hot days. Lechon (whole roasted pig) is the star of celebrations, with Cebu’s version being particularly renowned for its crispy skin and juicy meat.
Don’t miss pancit (noodle dishes), lumpia (Filipino spring rolls), and halo-halo, a colorful dessert of shaved ice, sweetened fruits, jellies, and evaporated milk that’s incredibly refreshing.
For the adventurous, try balut—a fertilized duck egg with a partially developed embryo. It’s considered a delicacy and an experience. I won’t judge if you skip it, though.
Street food is both delicious and affordable. Grilled skewers of pork or chicken, fresh tropical fruits (the mangoes are legendary), and local snacks are everywhere. Just use common sense—eat at busy stalls with high turnover.
Vegetarians might find Filipino cuisine a bit challenging since meat and fish feature heavily, but larger cities have vegetarian options, and dishes like ginataang gulay (vegetables in coconut milk) are delicious.
Practical Travel Tips I Wish Someone Had Told Me
Here are some random but useful nuggets of wisdom:
- Airport departure fees used to be a separate payment (around 200 PHP), but they’re now mostly included in ticket prices. Still, keep some cash handy just in case at smaller airports.
- If you experience delays or cancellations, get signed proof from officials immediately. Airlines may require this to rebook you without penalties.
- Internet can be frustratingly slow, especially on smaller islands. El Nido is notorious for terrible WiFi. If you need reliable internet, consider buying a local SIM card (Smart or Globe networks) or renting a portable WiFi hotspot. Surprisingly, airport WiFi in the Philippines is usually pretty good.
- Bring an umbrella, not a raincoat. It’s too hot and humid for raincoats, even during rain. An umbrella keeps you dry without the sweat.
- Always try for a window seat on flights. The aerial views of islands, turquoise waters, and sandbars are absolutely stunning.
- Filipino time can be… flexible. Buses and ferries might not leave exactly on schedule. Build in buffer time and practice patience.
- Respect environmental rules. Many beaches and islands have strict regulations against single-use plastics, littering, and touching coral. The Philippines is working hard to preserve its natural beauty, and responsible tourism matters.
Final Thoughts
Planning a trip to the Philippines can feel overwhelming at first—so many islands, so many choices, so many logistics to figure out. But here’s what I’ve learned from all my research and talking to people who’ve been: the Philippines rewards those who go there. Yes, travel can be slow. Yes, weather might not cooperate perfectly. Yes, you’ll need to deal with some chaos and unpredictability.
But in return, you get some of the most stunning tropical scenery on earth, warm and genuine hospitality, incredible value for money, and that rare feeling of adventure that’s getting harder to find in our over-touristed world.
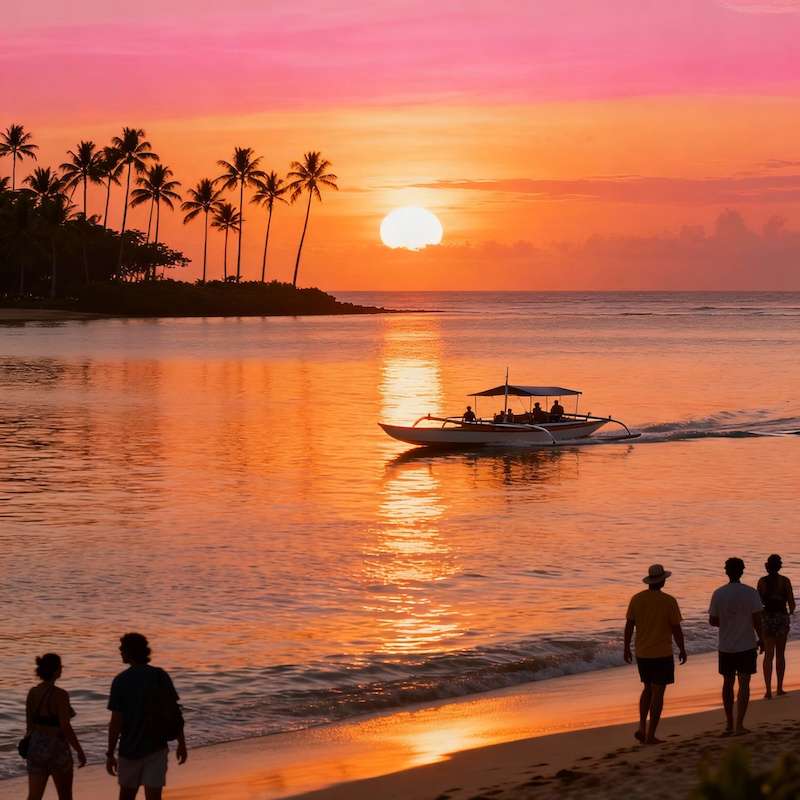
Whether you spend your days diving with sea turtles, kayaking through hidden lagoons, learning to surf, or simply lying on white sand with a fresh coconut, the Philippines has a way of exceeding expectations.
Start with one or two regions rather than trying to see everything. Take your time. Be flexible. Embrace the journey, including the boat delays and tricycle negotiations. They’re all part of the story you’ll tell later.
For more detailed planning help, check out my guides on the best time to visit, sample itineraries, packing checklist, and individual destination guides for Palawan, El Nido, Coron, Boracay, Siargao, and Cebu.
The Philippines is waiting. And trust me, it’s worth the planning effort.